Create Your First Project after Signup
Choose a Name for Your Project
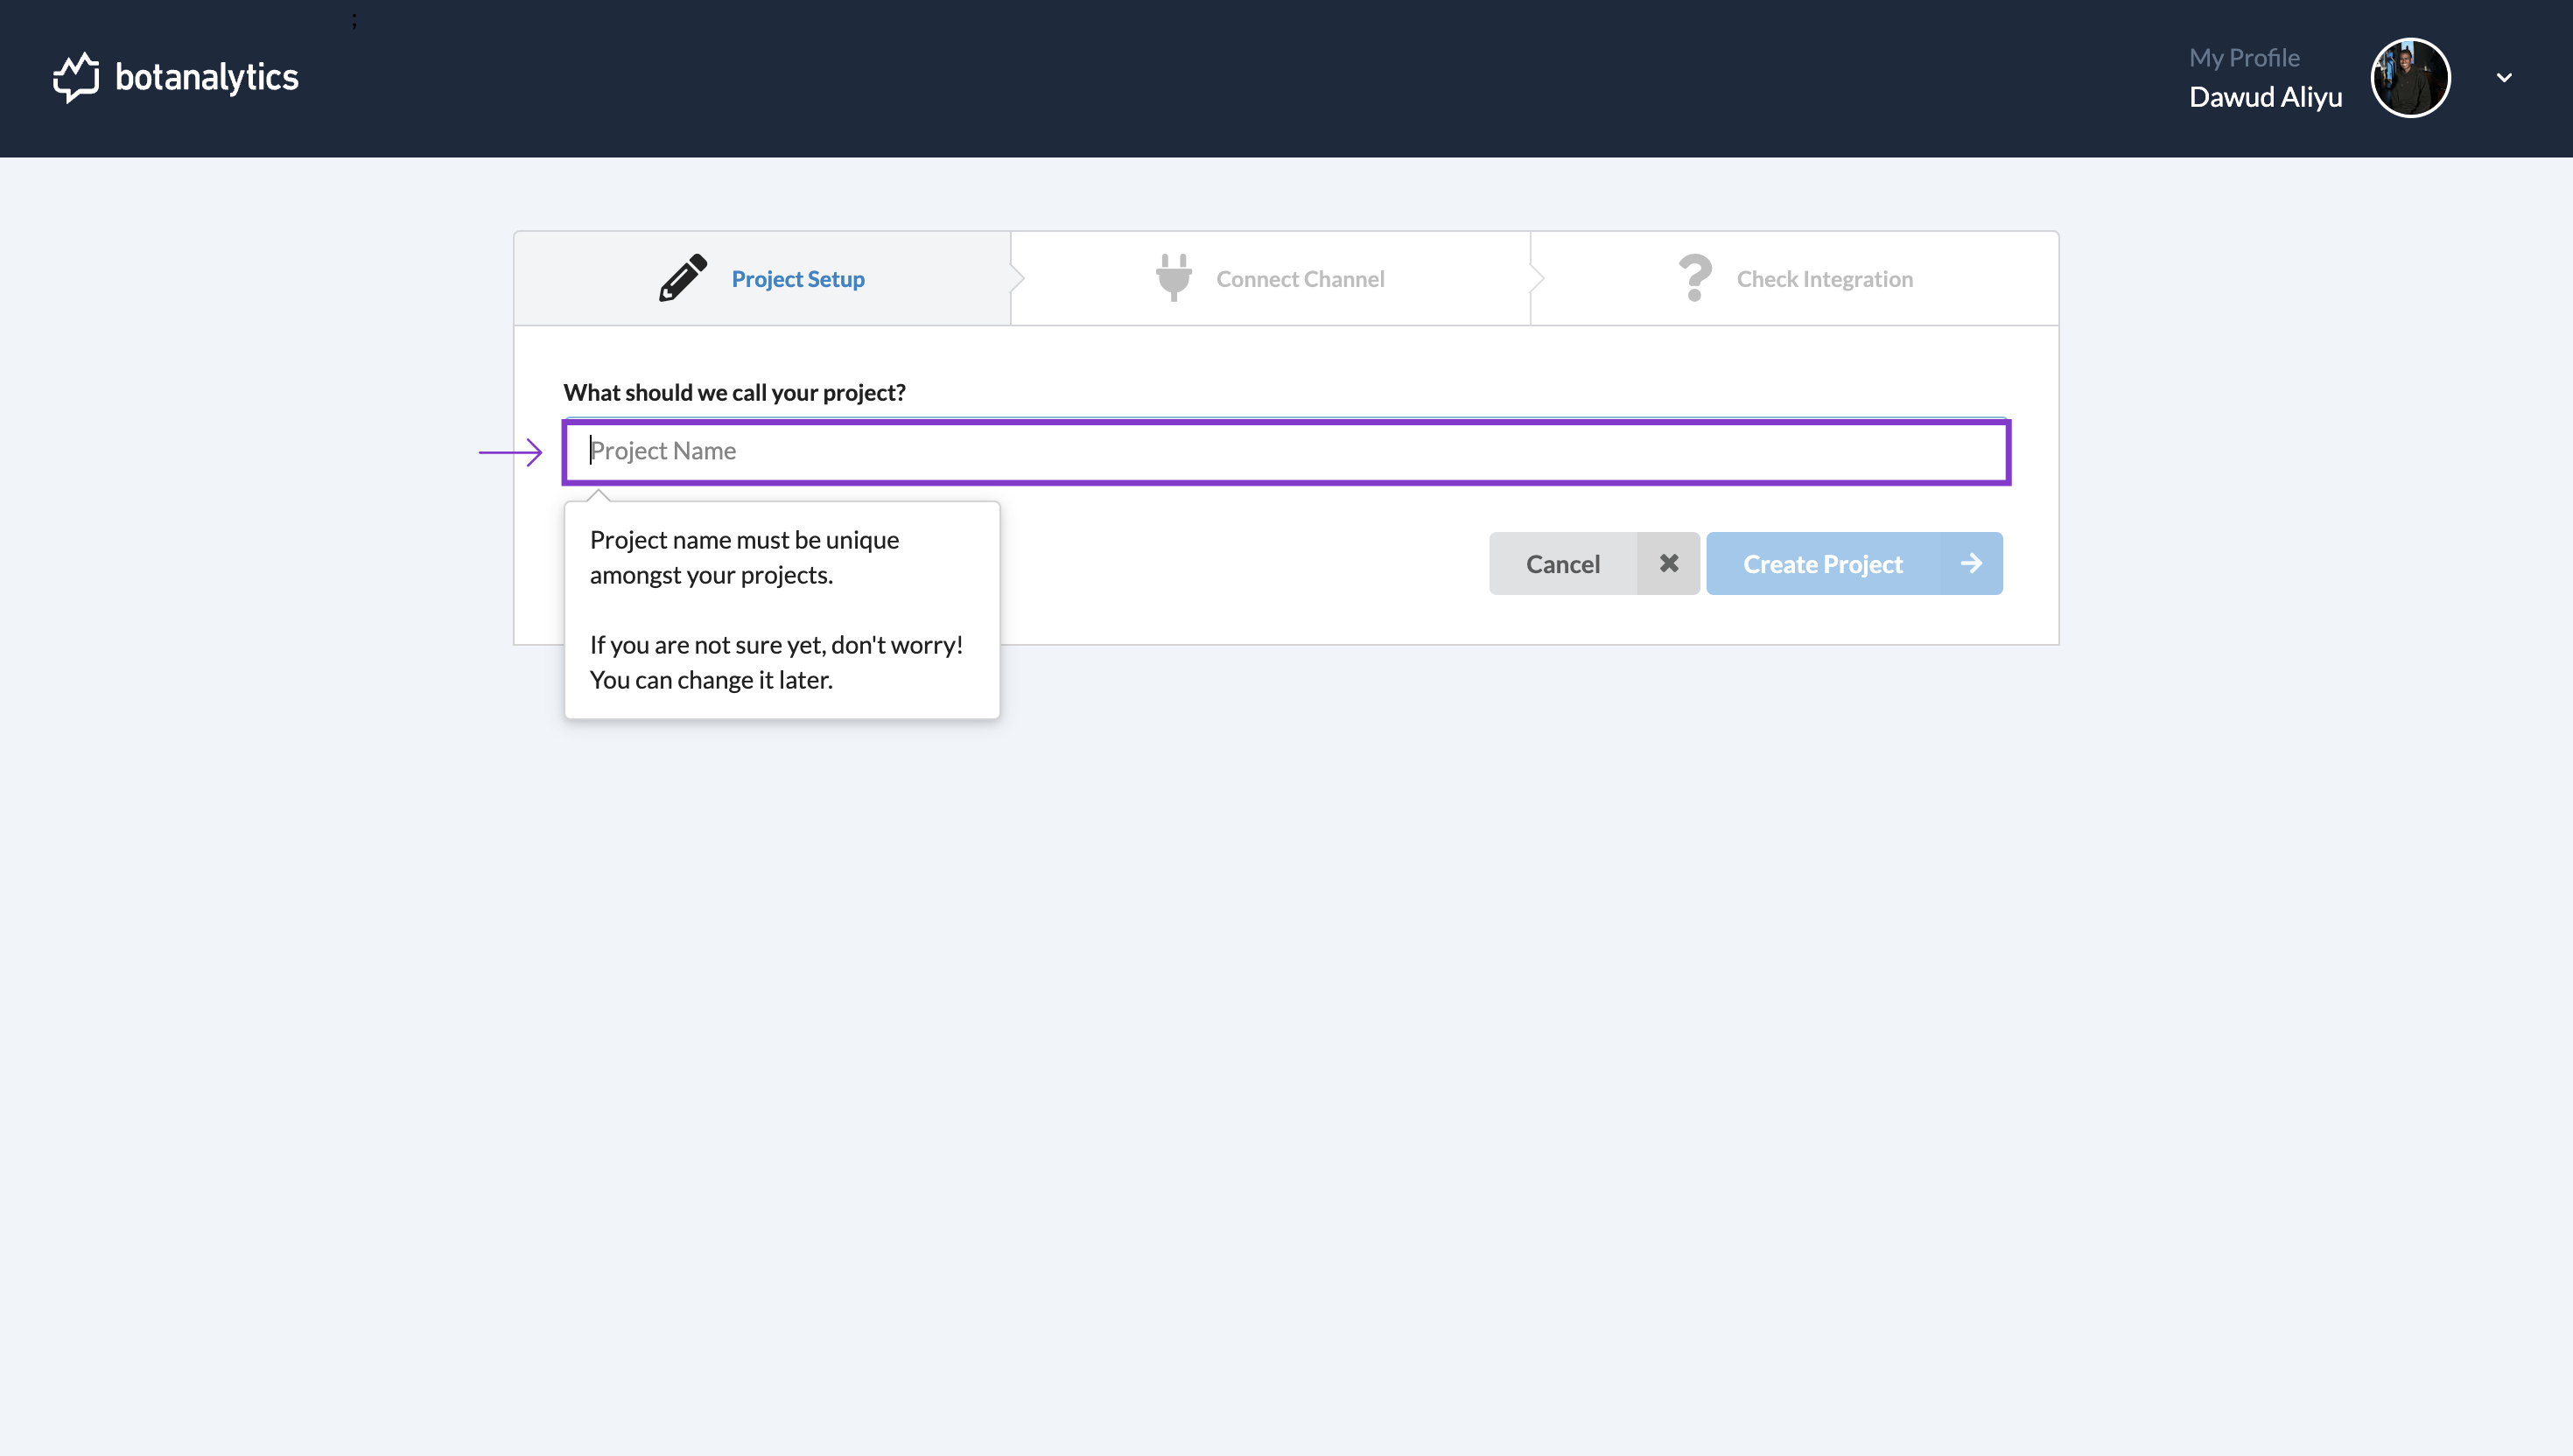
- After signing up using your preferred method, you will be directed to another page that says "Project Setup."
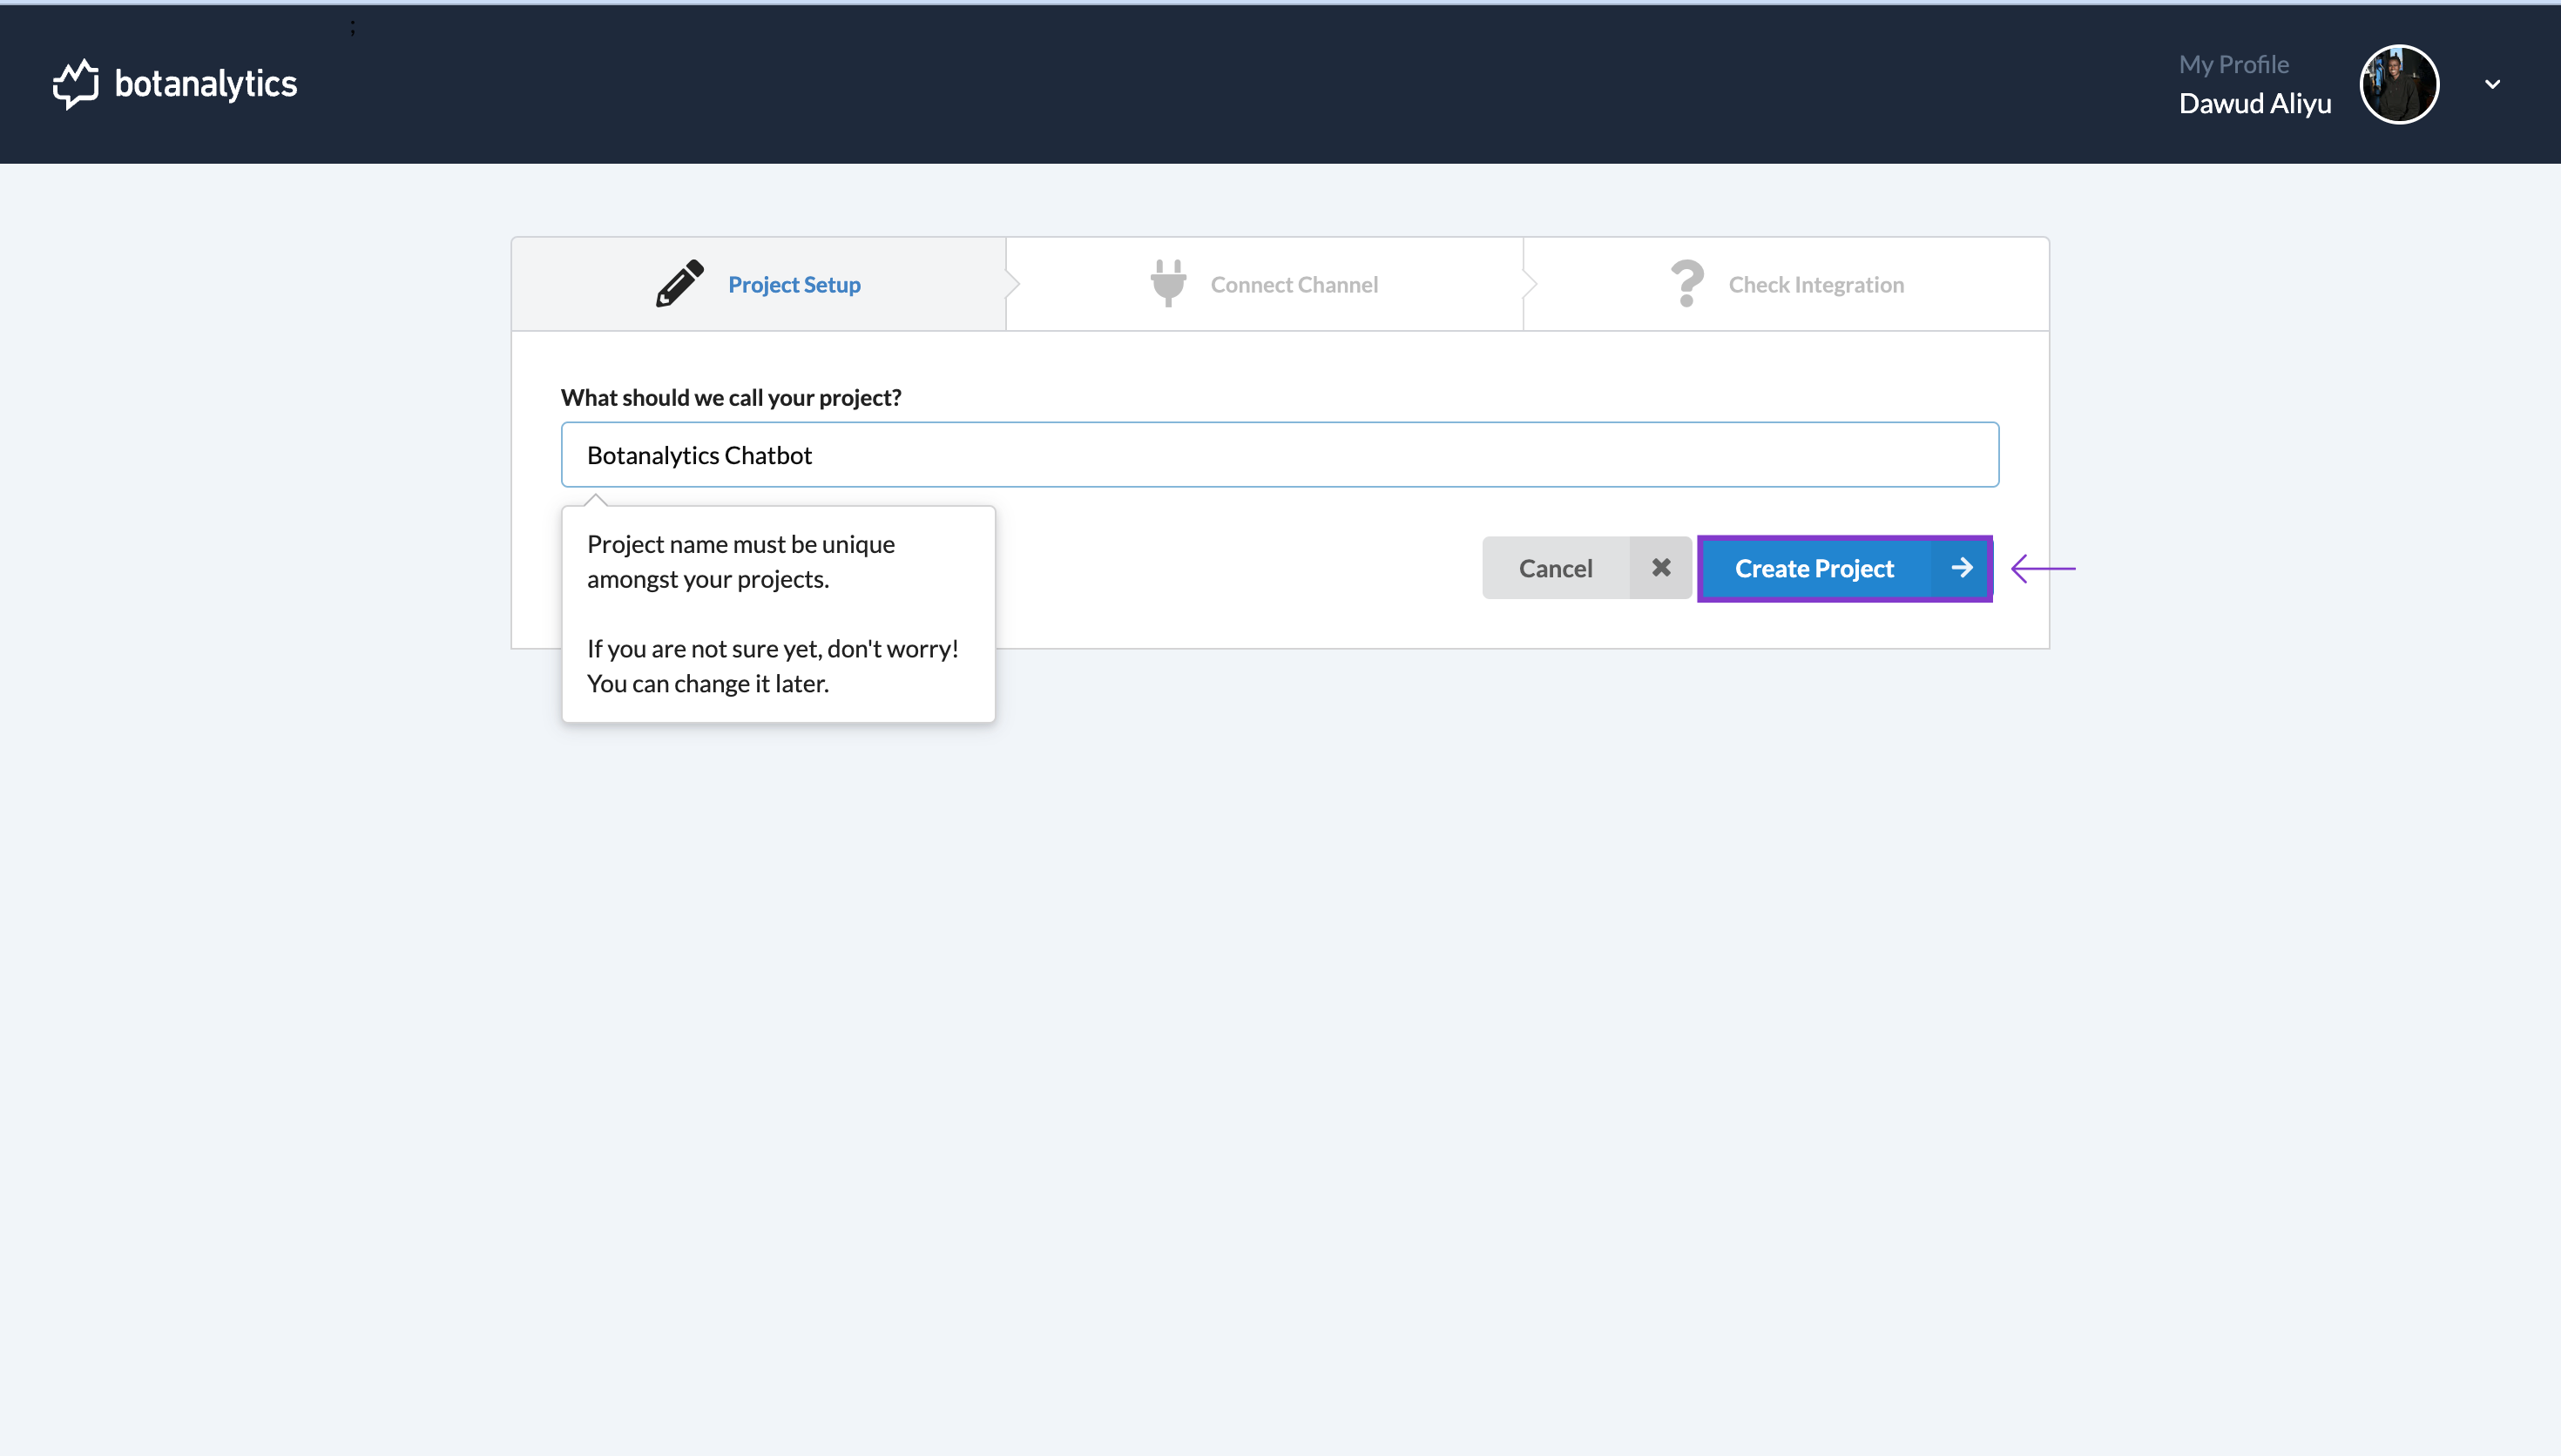
In the project setup page, you will be prompted to choose a name for your new project. Type in a descriptive name for your project.
Create a Project
- After entering the project name, click the "Create Project" button to create your first project.
Connect a Channel
-
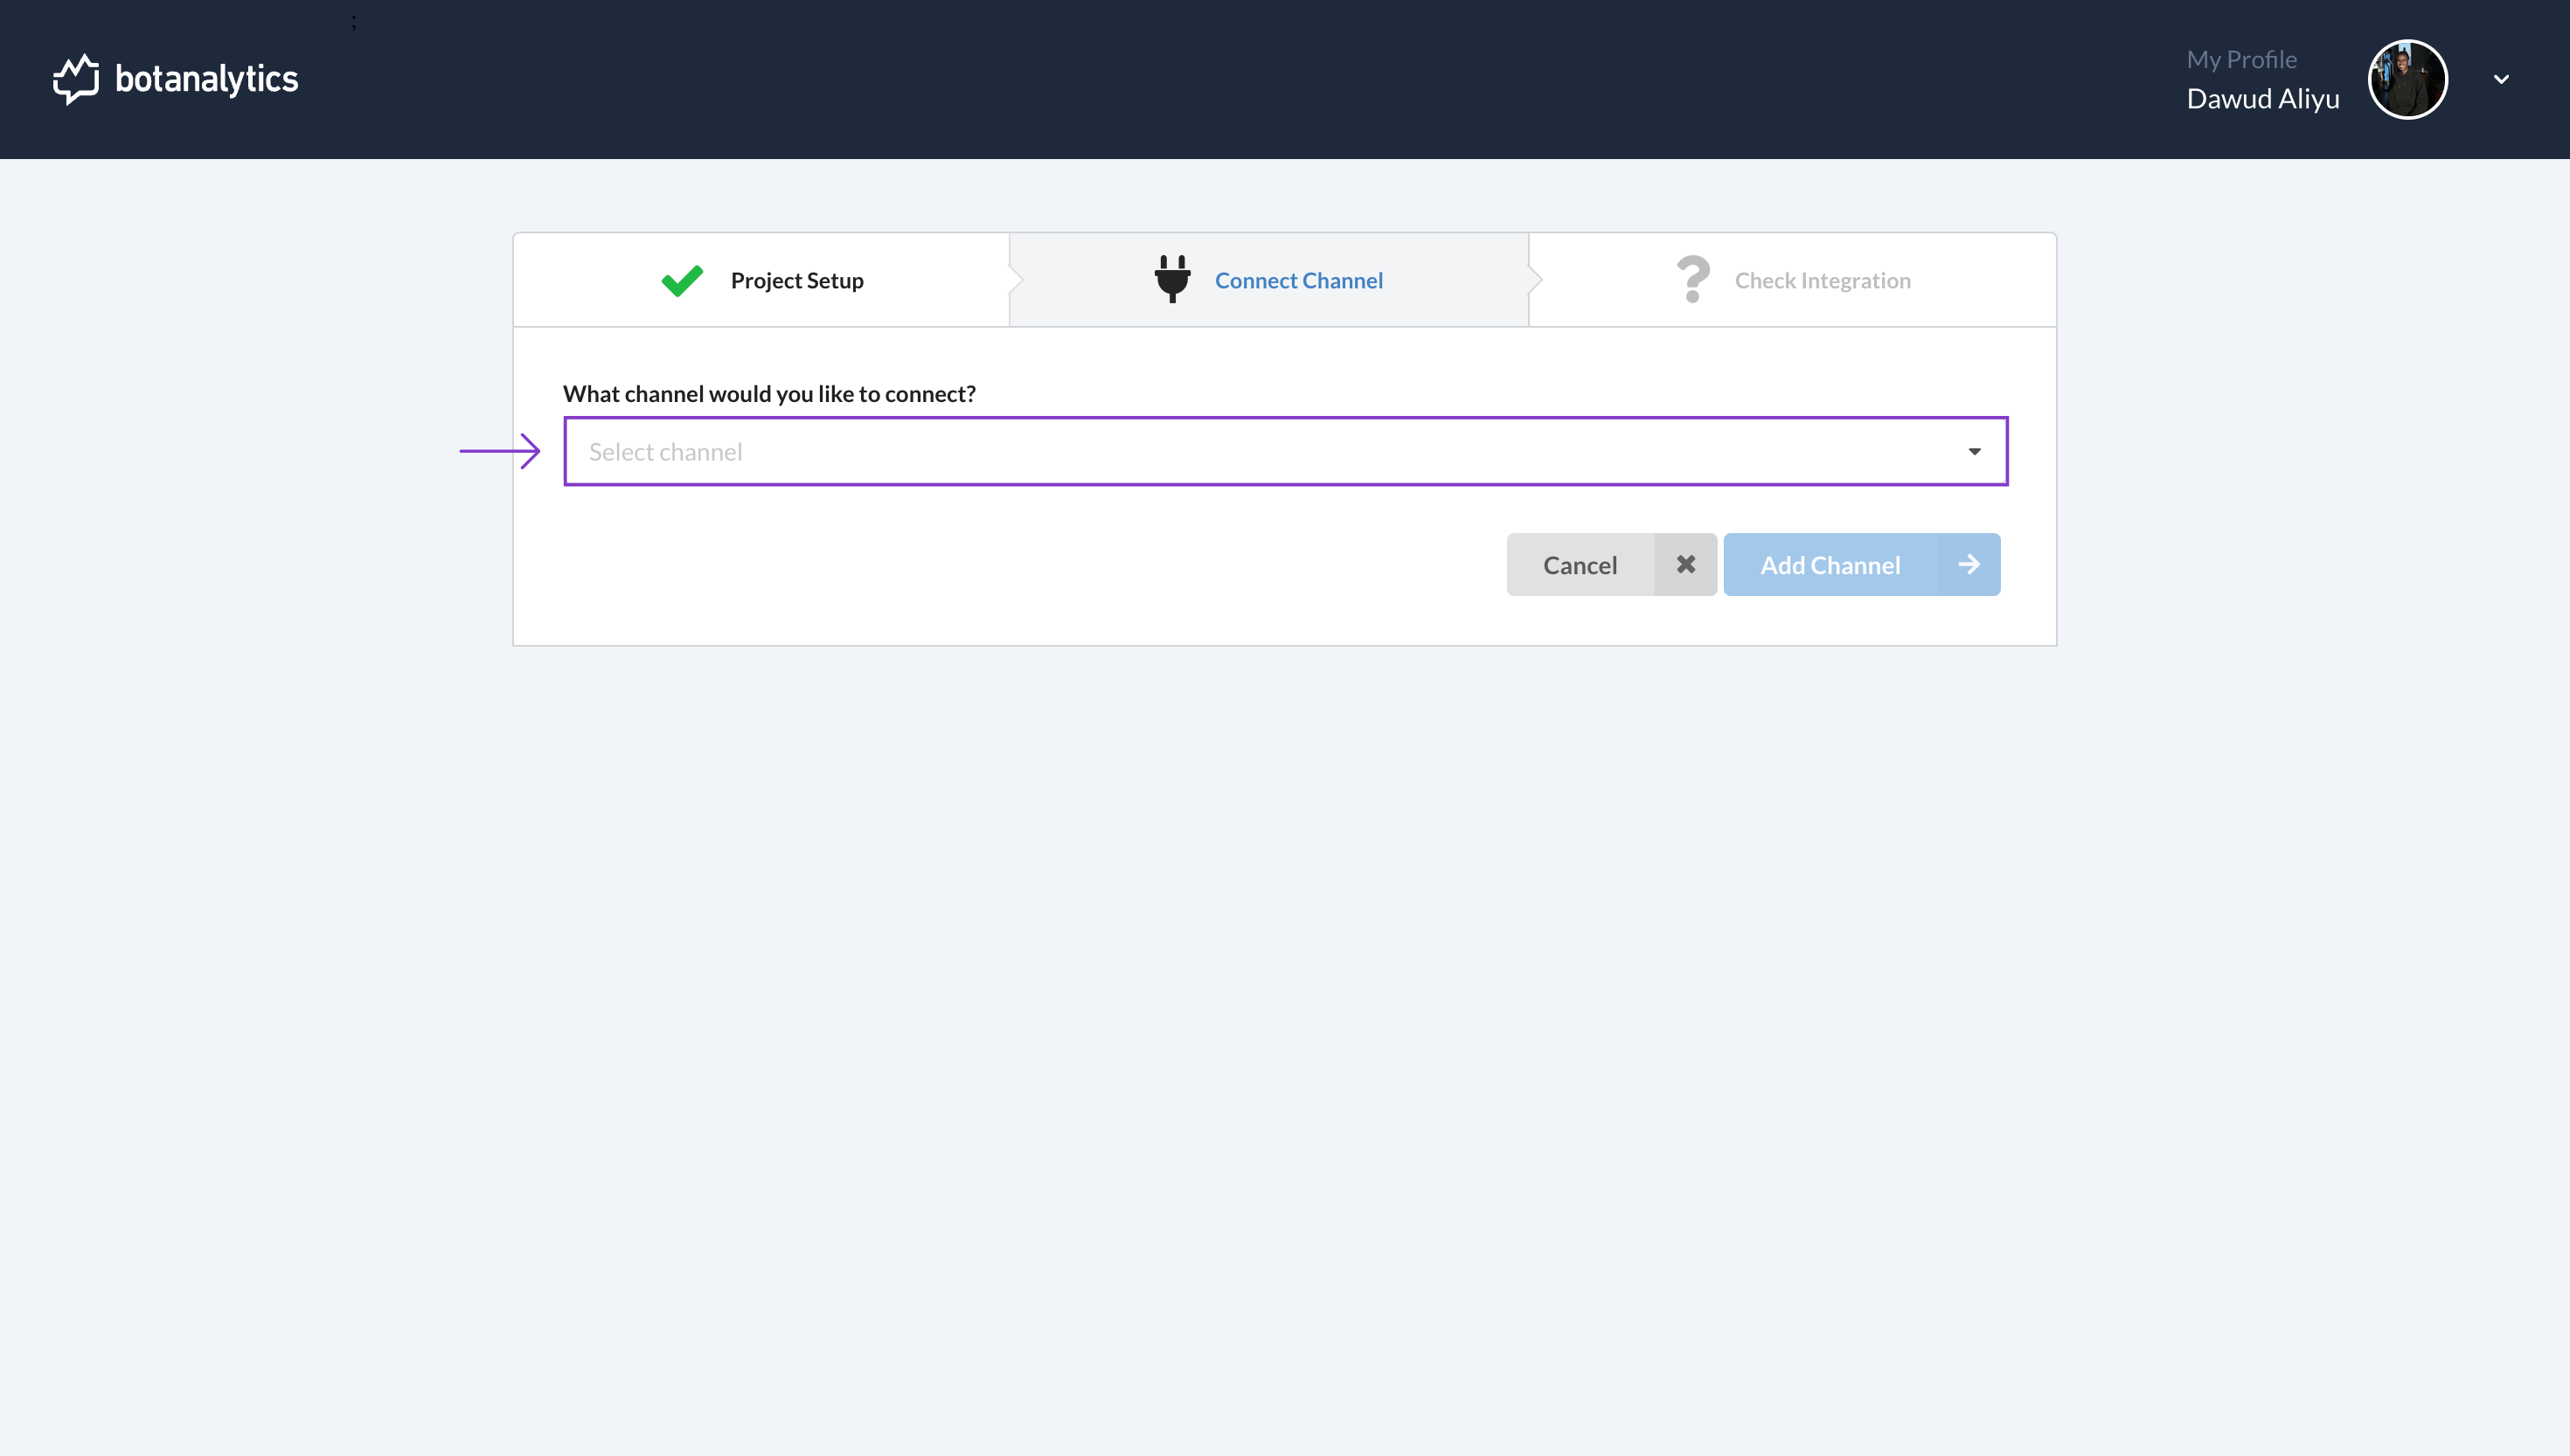
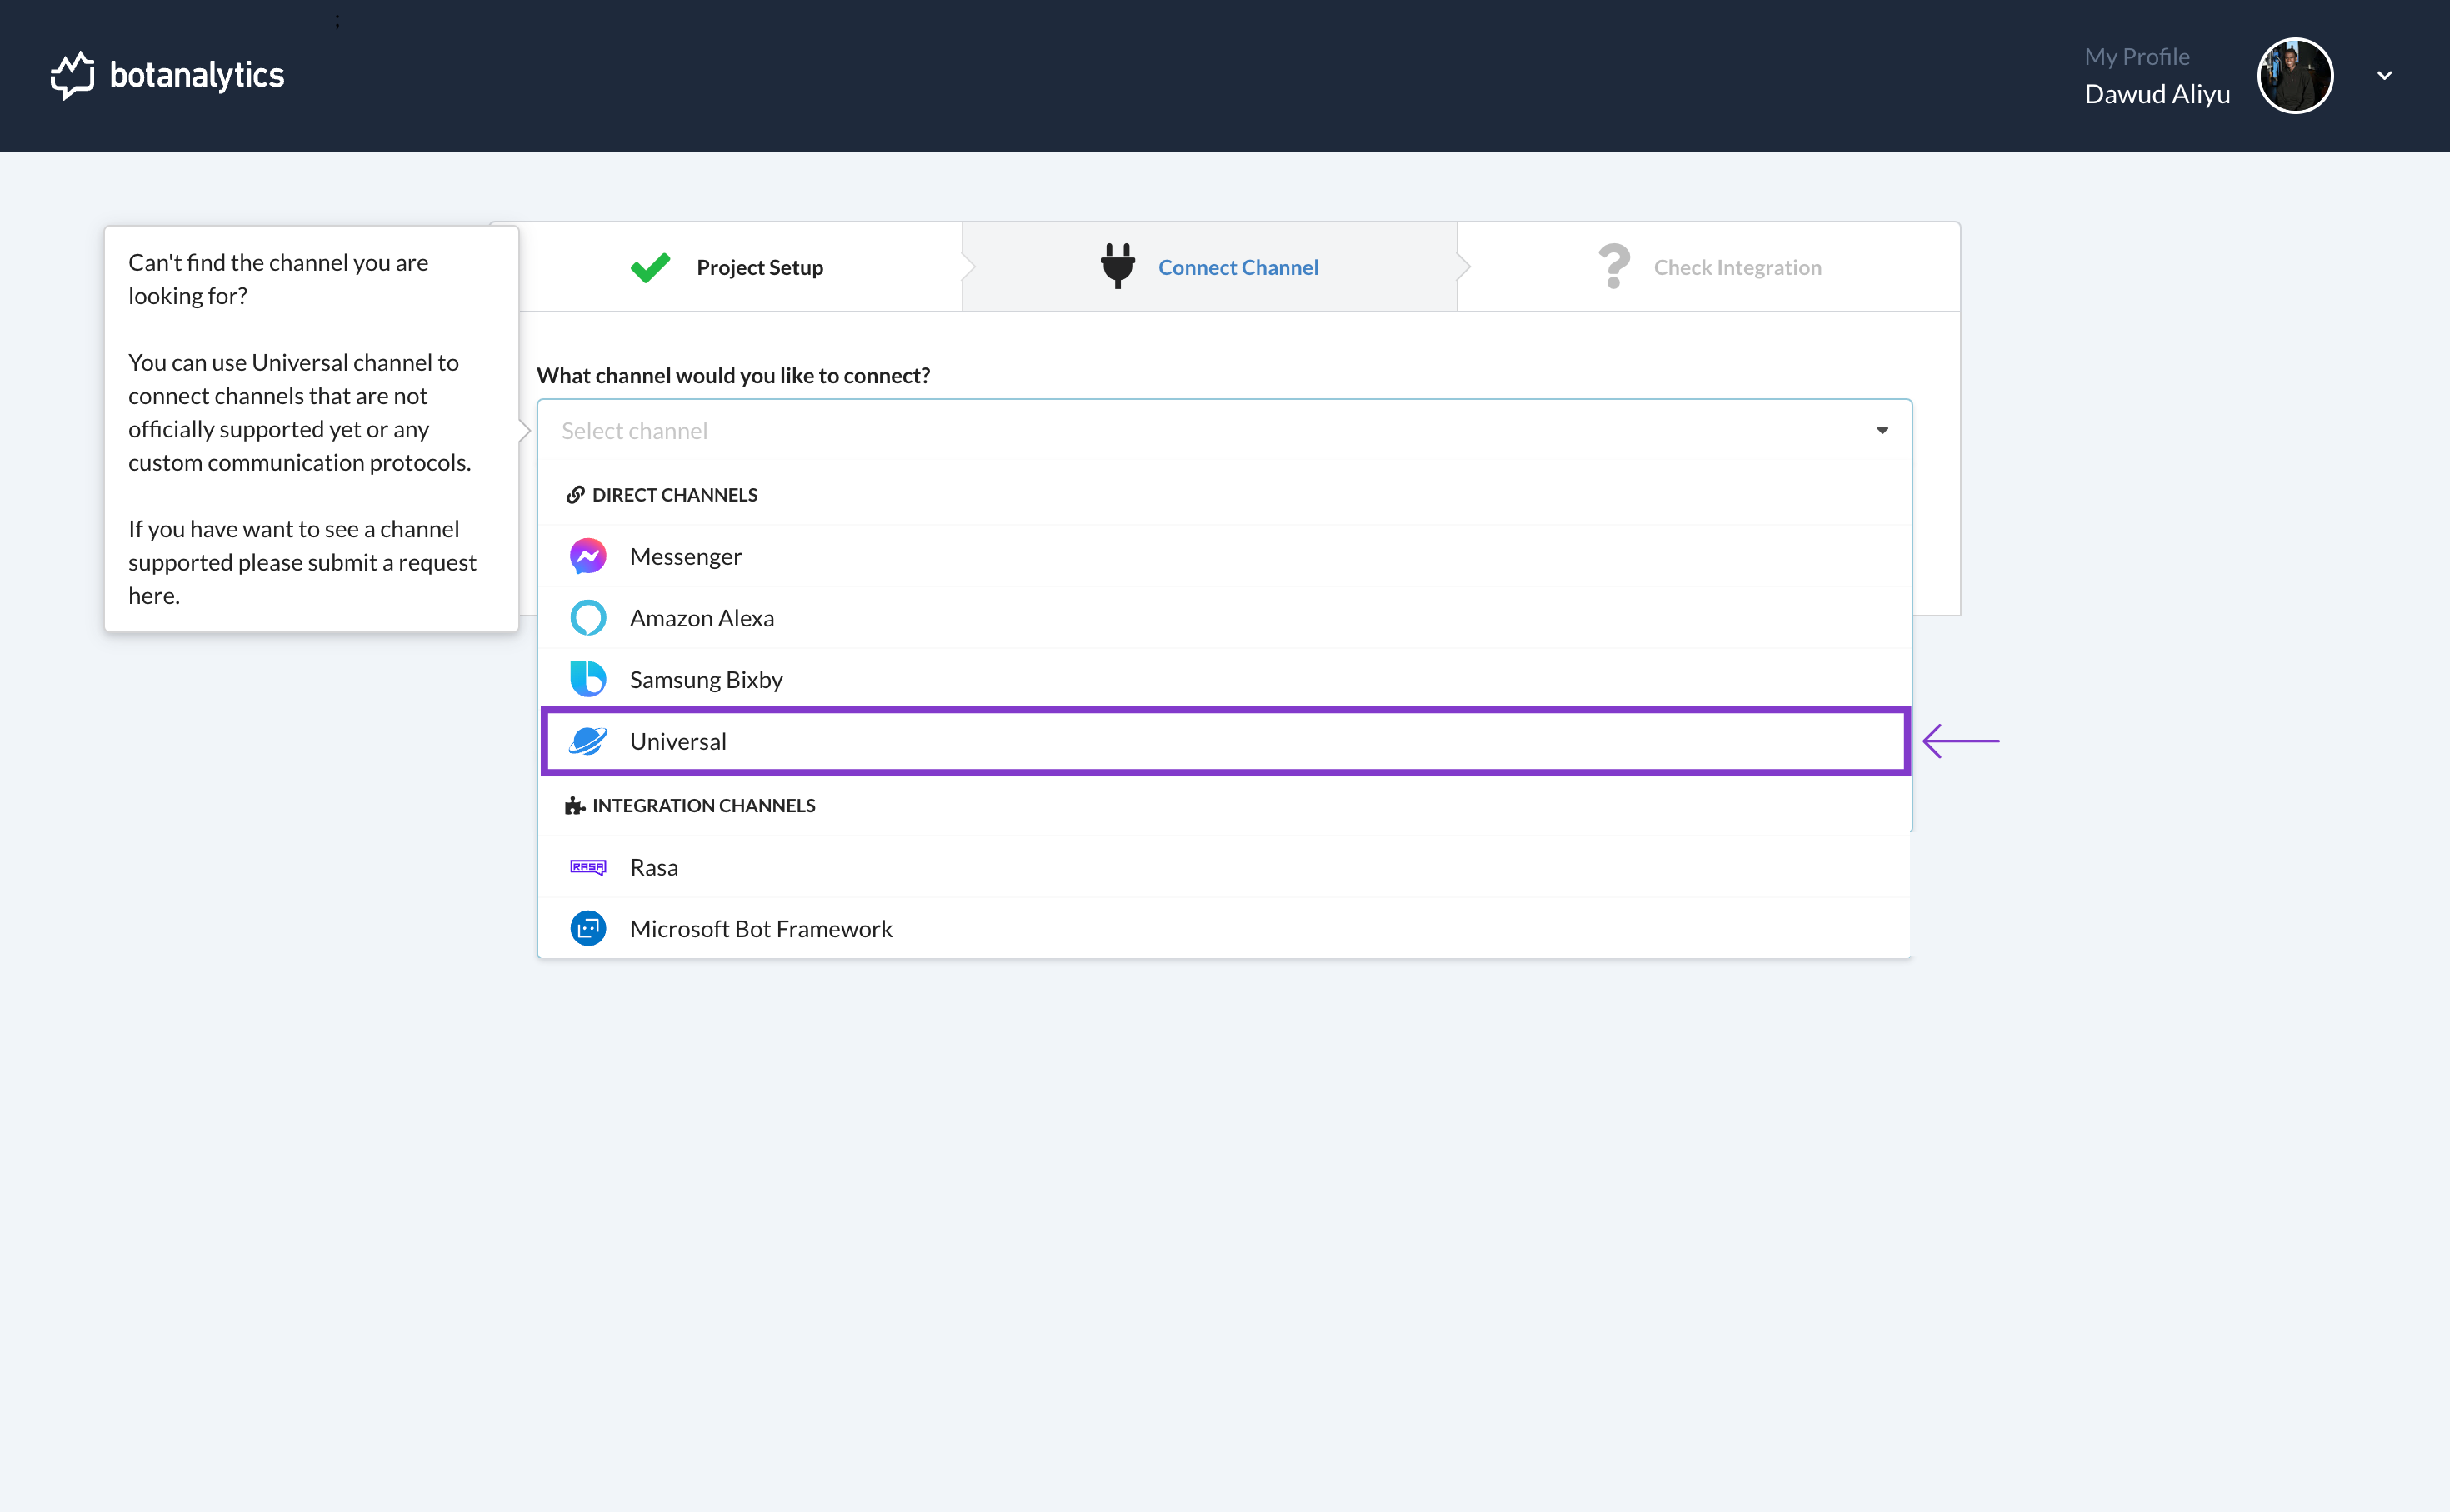
Once the project is created, you will be directed to the "Connect Channel" page. Here, you can choose your preferred channel. On the "Connect Channel" page, locate the section titled "What channel would you like to connect?" Click on it and a dropdown will appear displaying a list of available channels that you can connect to your project.
-
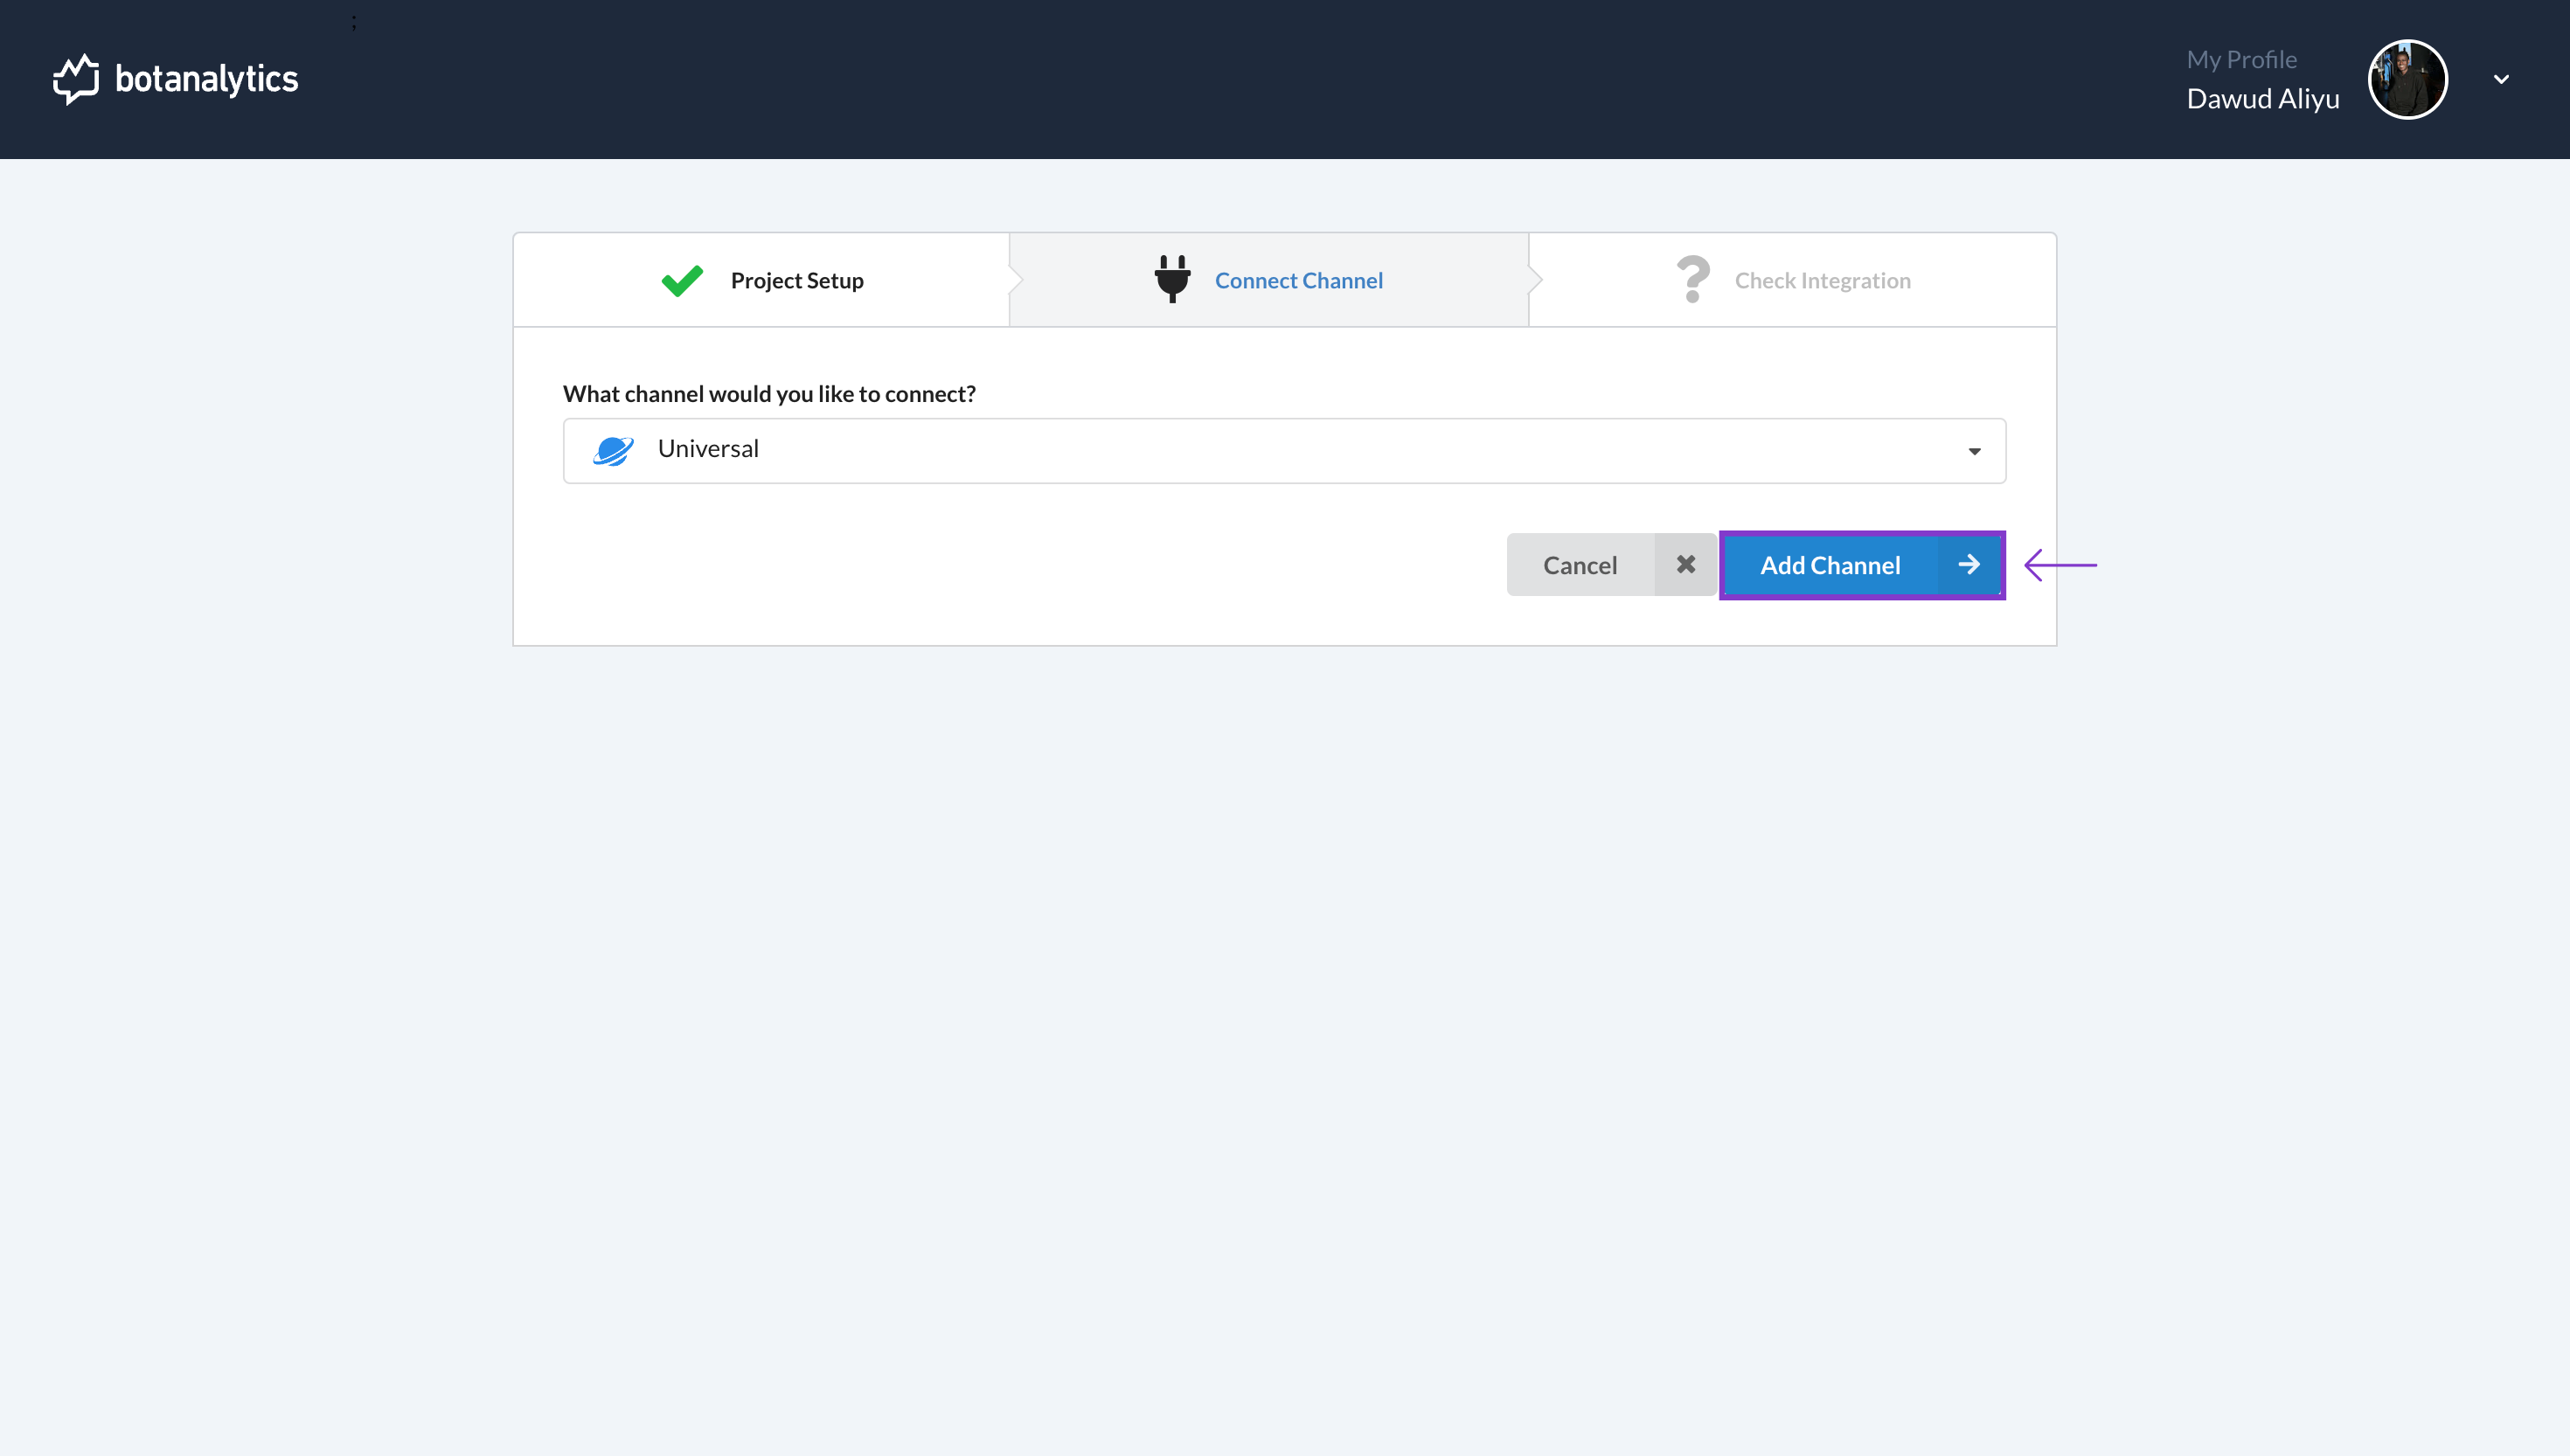
From the list of available channels, find and click on the channel you wish to connect to your project. For example, if you want to connect to the "Universal" channel, click on "Universal."
Add Channel
- After selecting the channel, click on the "Add Channel" button. This will initiate the process of connecting the chosen channel to your project.
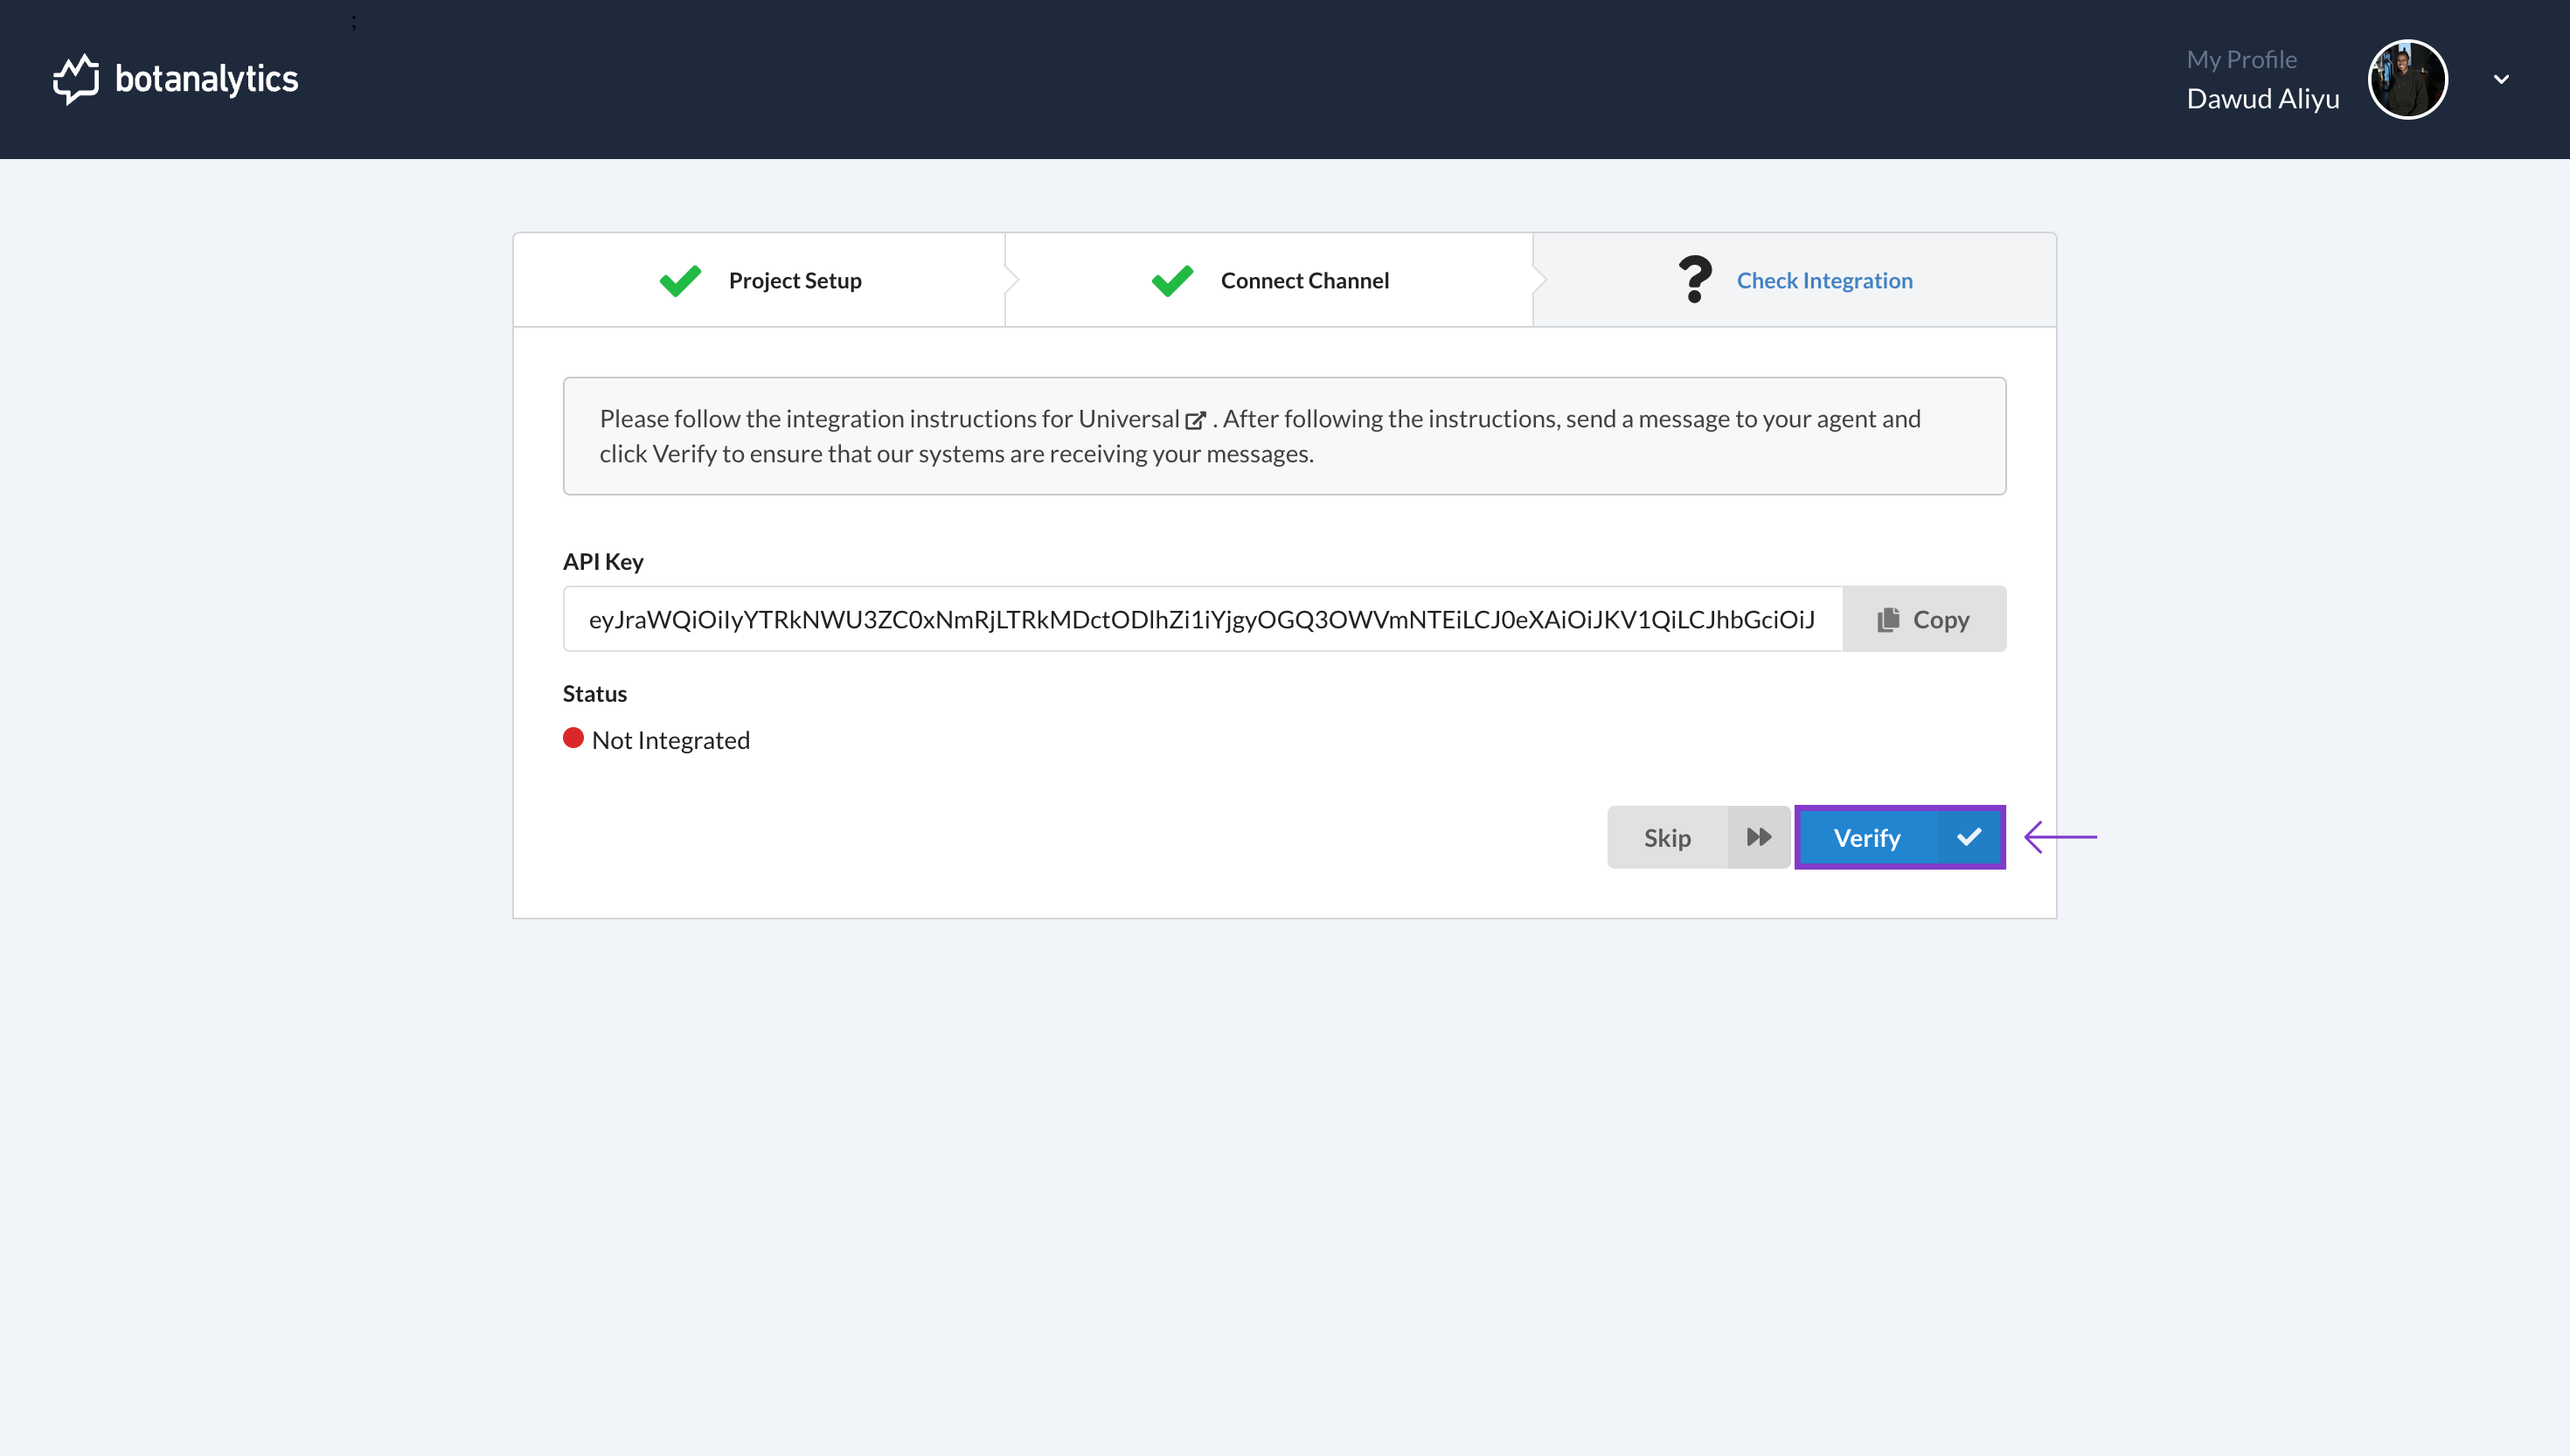
Obtain API Key and Check Integration
- You will be taken to the "Check Integration" window, displaying your unique API key for the selected channel. Follow the integration instructions provided for the chosen channel to verify if data is being received.
Send a message to your agent according to the integration instructions. Click the "Verify" button to ensure the system is receiving your messages. If successful, the status bar will show "Integrated" with a green button next to it.